React のフロントエンドアプリケーションで、@tanstack/react-query (以下 react-query)を使った状態管理の方法を紹介し、メッセージを表示するモーダルを作ってみようと思います。
開発環境
node: 16.15.0
PC: mac(ver.11.7.1)
  "vite": "^4.3.9"
  "react": "^18.2.0",
  "react-dom": "^18.2.0"
  "typescript": "^5.0.2",
  "@tanstack/react-query": "^4.29.12",
  "@mui/material": "^5.13.4",
  "@emotion/react": "^11.11.0",
  "@emotion/styled": "^11.11.0",
react-queryで状態管理を行う方法
初期設定
パッケージをインストールする。
$ yarn add -D @tanstack/react-query
Provider を設定する。
/// main.tsx
import React from "react";
import ReactDOM from "react-dom/client";
import App from "./App";
import "./index.css";
+ import { QueryClient, QueryClientProvider } from "@tanstack/react-query";

+ const client = new QueryClient({
+   defaultOptions: {
+     queries: {
+       enabled: false,
+     },
+   },
+ });

ReactDOM.createRoot(document.getElementById("root") as HTMLElement).render(
  <React.StrictMode>
+   <QueryClientProvider client={client}>
     <App />
+    </QueryClientProvider>
  </React.StrictMode>
);
QueryClient インスタンスを作成するときに、 defaultOptions.queries.enabled: false を設定することで、データ fetch を抑制します。
なので、react-query を使ってデータ fetch をしたい場合には、後述する方法で設定してください。
react-queryで状態管理を行う方法
データを設定する
type UserState = {
  name: string;
};
const queryClient = useQueryClient()

queryClient.setQueryData<UserState>(["user-state"], {name: "John"})
データを取りだす
const data = useQuery<UserState>(["user-state"]).data;
console.log(data && data.user); // John
React コンポーネントあるいはカスタムフック関数内でこのように書くことで、異なるコンポーネント間であっても {name: "John"} のデータを設定し、取りだすことができます。
このとき重要なのは、queryClient.setQueryData と useQuery の第一引数である QueryKey の値が同じであることです。
また、先述した react-query でデータ fetch を行う場合には、main.tsx の QueryClient に defaultOptions,queries.enabled: false の設定を書かず、取りだすときに次のように設定すればデータ fetch は抑制されます。
const data = useQuery(["query-key"], {
  enabled: false,
}).data;
メッセージモーダルの状態を管理する
MessageModalコンポーネント
material-ui を使って、MessageModal コンポーネントを作ります。
import { Box, Button, Typography, Modal } from "@mui/material";

export const  MessageModal = () => {
  return (
    <div>
      <Button onClick={handleOpen}>Open modal</Button>
      <Modal
        open={open}
        onClose={handleClose}
      >
        <Box>
          <Typography variant="h6" component="h2">
            Message Modal
          </Typography>
        </Box>
      </Modal>
    </div>
  );
}
今はまだ MessageModal コンポーネント内で状態を管理しています。
状態を管理するカスタムフックを作る
MessageModal の開/閉の状態と、表示する文言をカスタムフック内で管理できるようにします。
type ModalState = {
  isOpen: boolean;
  message: string;
}
また、モーダルを開く際には何かしらの文言が設定されていたほうがいいので、モーダルを開く際に同時に表示する文言も設定します。
カスタムフックの戻り値の型が次のようになれば OK です。
type ReturnType = {
  isOpen: boolean;
  message: string;
  open: (message: string) => void;
  close: () => void;
}
モーダルを表示するか否かの変数 isOpen とモーダルに表示する文言 message および、開/閉する関数 open, close を呼び出せるカスタムフックを作ります。
export function useModalState(): ReturnType {
  const queryClient = useQueryClient();

  // initialDataを設定しないと戻り値の型がundefinedになる
  const { message, isOpen } = useQuery<ModalState>(["modal-state"], {
    initialData: {
      isOpen: false,
      message: "",
    },
  }).data;
  const open = (message: string) => {
    queryClient.setQueryData<ModalState>(["modal-state"], {
      isOpen: true,
      message,
    });
  };

  const close = () => {
    queryClient.setQueryData<ModalState>(["modal-state"], {
      isOpen: false,
      message: "",
    });
  };

  return { isOpen, message, open, close };
}
こうしてできたカスタムフックを、MessageModal コンポーネントと、MessageModal を表示させたいコンポーネントで使います。
export const MessageModal = () => {
  const { isOpen, message, close } = useModalState();
  const handleClose = () => close();

  if (!isOpen) {
    return null;
  }

  return (
    <div>
      <Modal
        open={isOpen}
        onClose={handleClose}
      >
        <Box sx={style}>
          <Typography  variant="h6" component="h2">
            {message}
          </Typography>
          <Button onClick={handleClose}>モーダルを閉じる</Button>
        </Box>
      </Modal>
    </div>
  );
};
import { MessageModal } from "./MessageModal";
import { useModalState } from "./useModalMessage";
const ChildA: React.FC = () => {
const { open } = useModalState();
return (
<div>
<p>A コンポーネント</p>
<button onClick={() => open("This is A Component.")}>
モーダルを開く
</button>
</div>
);
};
const ChildB: React.FC = () => {
const { open } = useModalState();
return (
<div>
<p>B コンポーネント</p>
<button onClick={() => open("This is B Component.")}>
モーダルを開く
</button>
</div>
);
};
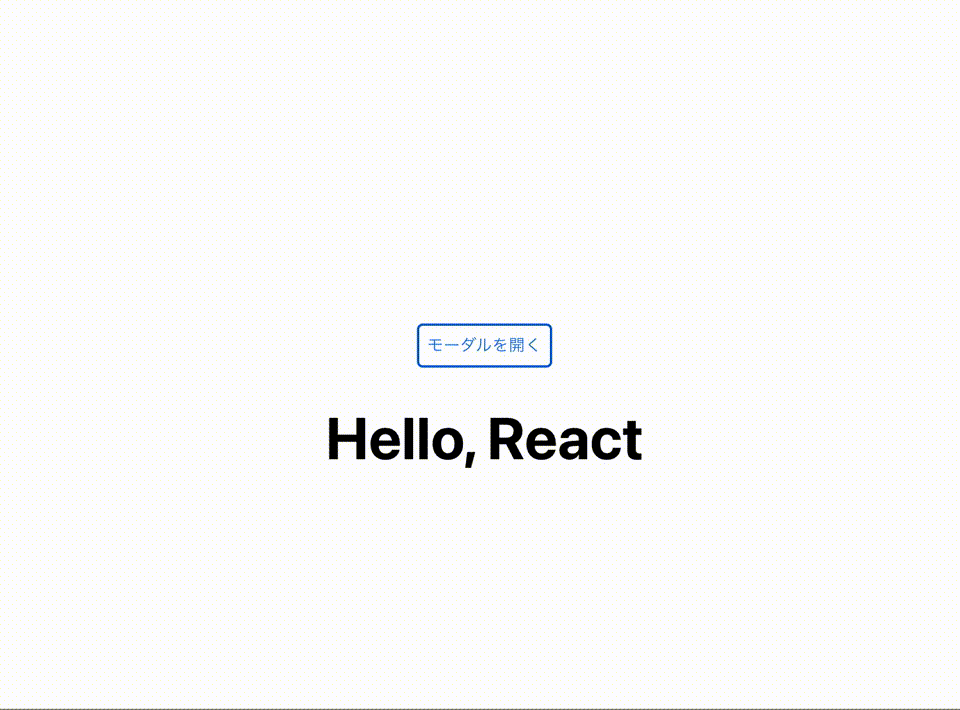
function App() {
const { open } = useModalState();
return (
<>
<MessageModal />
<div>
<h1>Hello, React</h1>
<button onClick={() => open("モーダルを開きました。")}>
モーダルを開く
</button>
<ChildA />
<ChildB />
</div>
</>
);
}
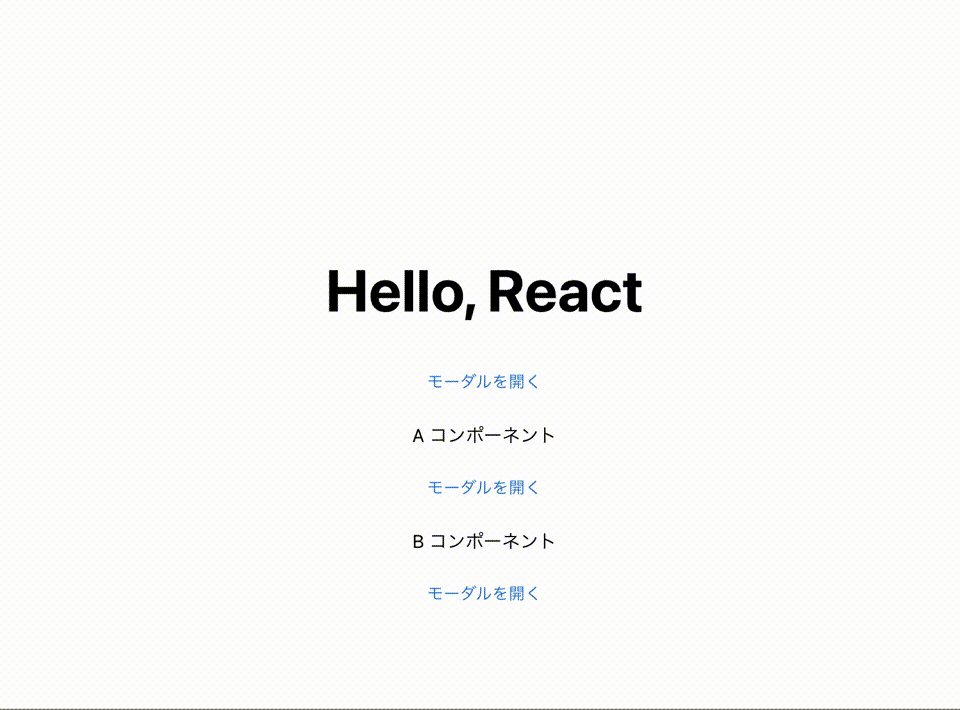
以上により MessageModal の状態を他のコンポーネントから管理すつことができるようになり、楽に MessageModal の開/閉が行えるよになりました。